What you do for this ZOOMdo:
- This is a fun art project where you take a small picture or photograph and create a really big version of it. You'll probably want to do this with some friends. You may have seen our first group picture project, which was like a big drawing. This one is more like a big sculpture because it's three-dimensional.
- Two-dimensional things are flat, like a photograph. They have two dimensions --width and height. Three-dimensional things have width, height and depth, too, like sculptures. Instead of just paint and crayons to make your project, use all different kinds of stuff like socks, packing peanuts, paper balls, and string.
- The first thing you need to do is choose a picture. Try to choose something that doesn't have too many details that are really hard to draw. It's also really fun if there's a face in the picture.
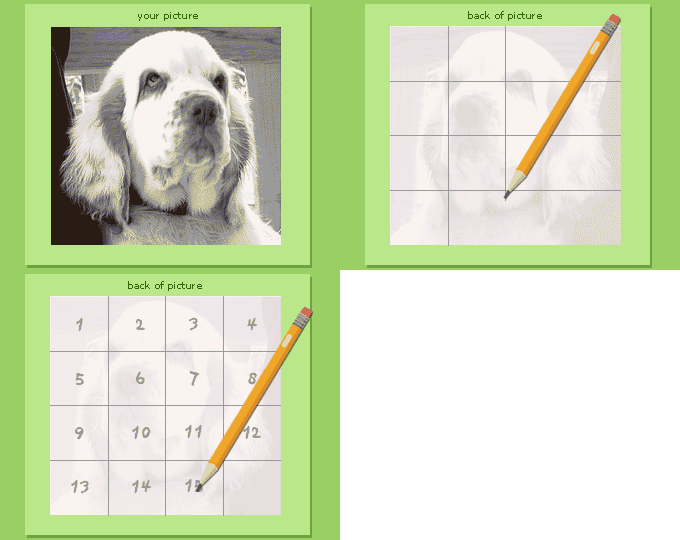
- It helps if you start with an 8" by 10' picture. Divide the picture up into 20 squares, in a grid of four across and five down. Draw the grid on the back of the photo using a ruler and a pencil before cutting.
- Number the squares from 1 to 20 and cut them apart.

- Then make the same number of larger squares out of blank paper. If you make your squares 16 inches by 16 inches, your group picture project will be pretty big! You can also make your finished picture a little smaller if you cut smaller squares.
- Number the backs of your large squares. Then pair the large squares with the corresponding numbers on the small squares.
- Now comes the fun part: drawing! Divide the matched photo squares and blank squares among your friends and get to work. Draw an enlarged version of the small squares on the large squares. It might make it easier to transfer the image from the small square to the large one if you draw a grid on your large and small squares. Just make sure the images that you draw on the large squares are in proportion with the images on the little squares.
- When you're done drawing, build on top of the image using different materials like cups, pipe cleaners, Popsicle™ sticks, colored tissue paper, and even garbage bags.
- When everybody's done building, put your squares together by placing them in a grid in the order of the numbers on the backs of the squares.
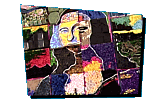
- Stand back and admire your completed 3-D group picture project! You can also put together the original photo and see how your group picture compares to it.
|


